One of the last steps of building the DDR mats is getting a circuit board to connect a mat to a computer. One of the easiest ways is to buy a cheap USB game controller, solder wires to the contact points on the circuit board, and then connect the wires to the DDR mat.
Wires soldered to the circuit board
The steps I followed are basically:
1. Make sure the controller works when plugged into a USB port. (One of the first controllers I tried using several years ago was a PlayStation2 controller, and probably didn't work with the PlayStation2 -> USB adapter I was using. But since I didn't check before opening it up, I'll never know if it just didn't work with the adapter or if I broke something while opening it.)
2. Test in whatever DDR software you plan to use - make sure the controller can register all four arrow presses at once. If not, you might have the "joystick axes" problem, so you'll just want to pick some other buttons to solder to. Make sure whatever buttons you choose for the four arrows can register as pressed all at the same time. This also makes hands (3 or 4 arrows pressed at the same time) possible.
3. Take out all the screws in the controller and open it up. Remove all the rubber buttons and motors if desired (just rip out the motors).
4. Use an Ohm-meter to figure out which solder points are ground. Each button will generally have two solder points near it, one of which is ground. If you touch two solder points for different buttons, and the resistance is very close to zero, chances are that those solder points are connected to ground. Sometimes the entire controller will only have a single ground (which is very convenient), but sometimes each section of the controller will have its own ground.
5. Solder one wire to the easiest to reach ground solder point. (Repeat this step if your controller has multiple sections with different ground.)
6. For each button you want to use, solder one wire to the non-ground solder point.
7. Group the wires neatly, put some electrical tape on the circuit board, close up the controller, and test it again on the computer. Go back to step 4 if it doesn't work.
8. Connect the wires to the DDR mat. In this case, that meant soldering to a male D-sub connector (HD15, same as a VGA cable), since our DDR mat wires are soldered neatly to a female D-sub connector.
Wires from circuit board soldered to a D-sub connector
Tips: The wires are often easier to position if you can find (or drill) a hole near each solder point. Then you can poke the wire in from the back and fold it over onto the solder point. For soldering, lead solder usually sticks better than lead-free solder (unfortunately). It works pretty well to put a small glob of solder on each solder point, then remelt it and shove the wire into the solder.
As for the DDR mat itself, it turns out the weatherstripping foam we used is too soft and compresses too easily after a few hours of playing DDR. So we'll probably try different kinds of foam or rubber until we find one that keeps its shape well after compression. (Current ideas are mousepads or cheap flip flops!)
Starting college can be a big transition. You’re moving to a new place, starting a new school and classes, and faced with making new friends in an unfamiliar environment. And, of course, there’s that whole “becoming an adult” thing. But, you’re also leaving a lot behind. Every new beginning means that an old chapter must come to an end. Leaving behind our friends at home may seem difficult, especially if they’re going to be a long distance away from you during the school year. Something I made sure to do was to spend a lot of time with them during the summer after high school. Of course, going to college doesn’t mean you’ll never see your friends again, or that you will no longer be friends with them. Good friendships will last if you put effort into them. It may seem hard initially. Coming into Caltech, it’s a sharp adjustment and many are caught up in the excitement of Orientation, Rotation, and starting classes. It may be hard to remember to check your phone frequently and to make time for phone calls and such. Rest assured that if you have other friends going to college, they’re probably going to go through similar things you will. In this transition period, it can feel like you’re going to immediately lose touch with people that mean a lot to you.
Let’s face it: the US loves being just a little different from everyone else. The obvious example? Units of measurement. As an international student from Canada, even I have no clue what’s going on half the time when my friends talk to me and use these weird nonsensical units. And I’ve literally lived on the border between Canada and the States for all my life. After a year here, I’ve finally got a sense of how the two systems of measurement compare and how you can more easily get your bearings with these weird units.
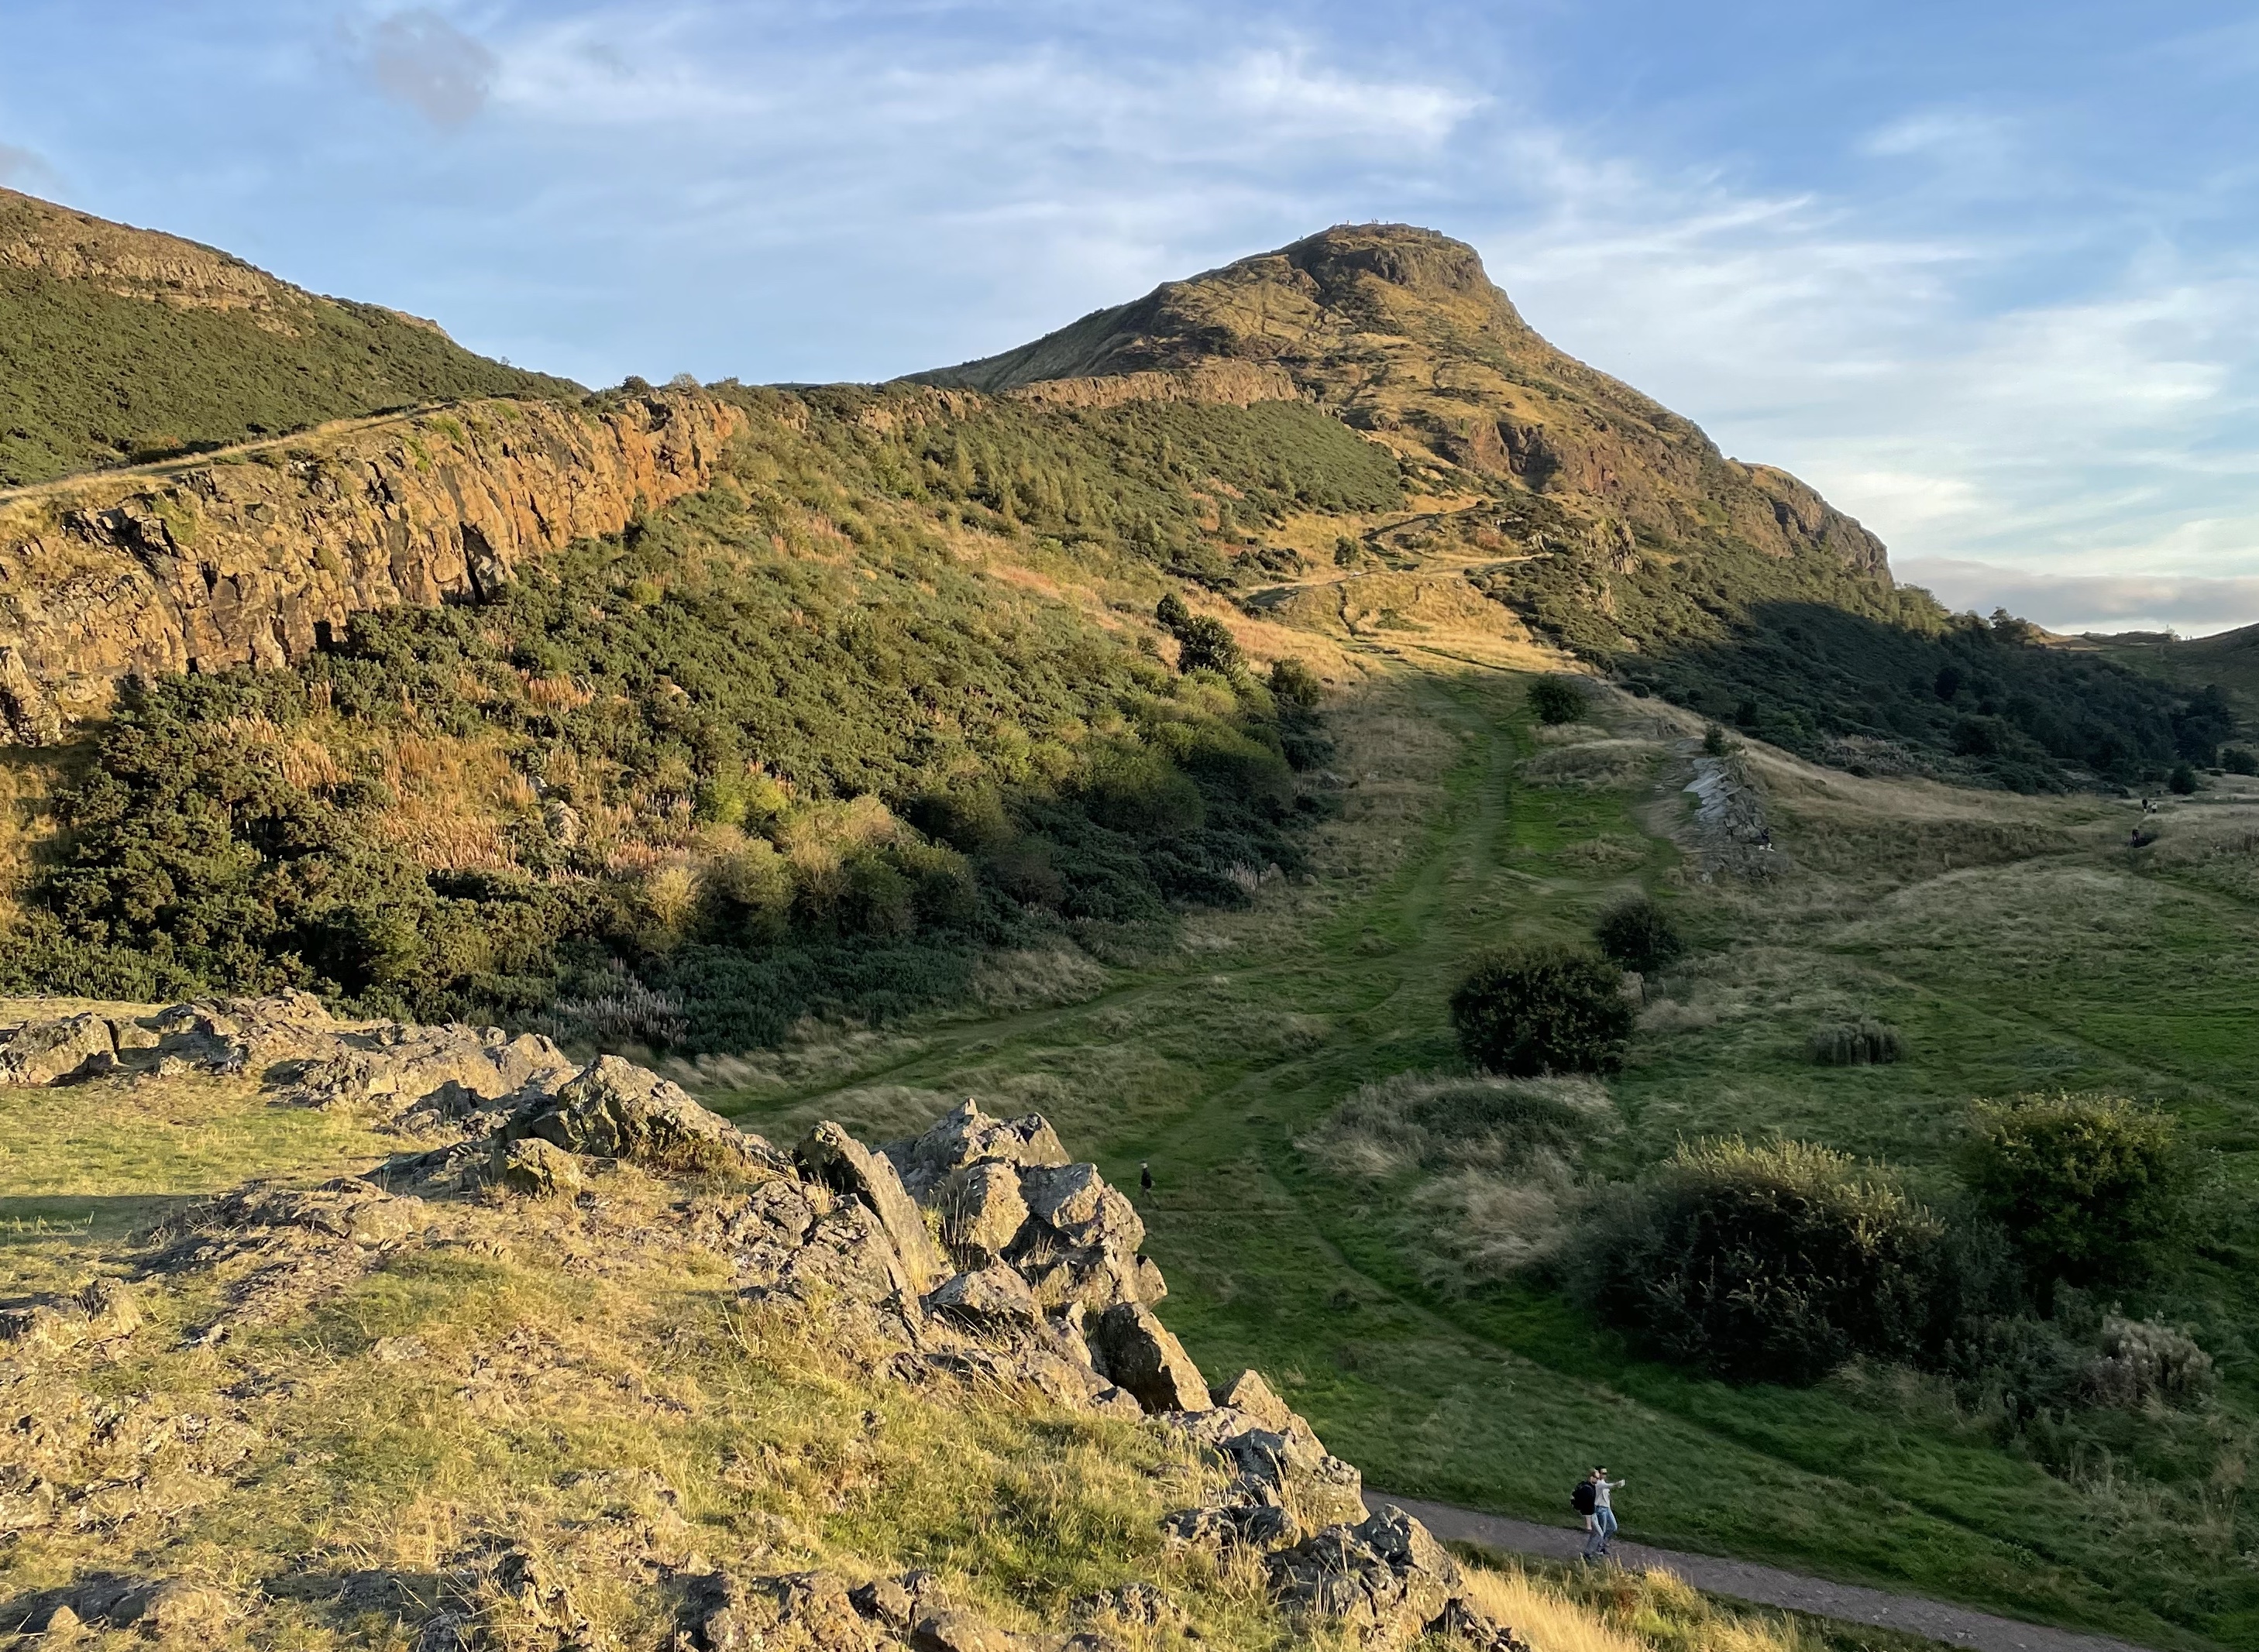
After a year spent in “soft-lockdown” at home in Atlanta, and as Caltech students prepared to finally return to campus, I was aboard an eight hour flight towards Edinburgh, Scotland. Since my junior year plans were interrupted by the virus who shall not be named, I’m spending my first term of senior year studying abroad through the Caltech - Edinburgh University International Exchange program. I’ve only been here just over a week yet have been exposed to so many new people, perspectives, foods, and classes.
When the announcement was first made that fall term was going to be online, I started talking to friends and looking for places to live. We were debating locations around the country: California, Florida, New York, etc.. there were plenty of options. Then it suddenly hit me, what is stopping us from going to Hawaii, covid numbers were better and a two week quarentine would ensure that numbers stayed down… I proposed this to my friend and we agreed it would be an amazing experience, but we didn’t want to get out hopes up. A month or so later we still haven’t decided where to live, Hawaii seemed too far and too difficult to plan. But we couldn’t get the idea out of our heads. We spent some time looking into plane tickets, places to stay, etc… and it actually didn’t seem so impossible after all. A couple weeks later and we were arriving here on the big island!