
Ceramics @ Caltech
Many people, after getting into Caltech, get excited about taking a certain class, meeting a famous professor, or getting the chance to work at NASA. When I got into Caltech, I spent a week looking at the course catalog. Then, I sent a message to Ankita, an upperclassman on the tennis team who had hosted me when I visited the school. “How’s the Ceramics class?” I asked. To this day, she still laughs about me being the girl who asked about Ceramics even before getting information about the core requirements and whatnot (she didn’t know anything, by the way.) This year, my senior year, my schedule finally allowed me to squeeze in the class I’ve wanted to take before I even graduated high school – Ceramics.
Caltech putting the C in Ceramics
Ceramics is one of a few art classes offered at Caltech, alongside courses such as silkscreening or watercolor painting. I’ve always been one of those people who loved and appreciated art, but was never very good at it. Art classes are normally 3 units (3 hours/week), which is fairly easy to squeeze into a schedule. I never did because the classes were also usually held from 7pm - 10pm at night once a week, and I made a personal decision to use that time instead to work on problem sets. This term, my courseload was much lighter, so I grabbed a spot in Ceramics before it filled up. Lack of space in a class is an issue that is widespread at other schools, but only problematic at Caltech when you want to register for a humanities or art course.
In my first class, I learned that Ceramics is hard, just like every other class at Caltech. The wheel spins at around 15 miles an hour, so any manipulation you make with the clay requires arm strength. Not to mention that you don’t just throw a pot and everything is complete. There are lots of other steps involved, from wedging the clay, trimming your pot after drying, firing and glazing. The class is graded on Pass/Fail, so if you show up, you’ll pass the course. Below, I’ll give a brief overview of how a class normally goes.
A long journey to the studio
The Ceramics class is actually located off-campus but right next door at Polytechnic High School. It’s about a 15-20 minute walk from the dorms on campus. Pasadena is a pretty safe neighborhood, so even though the class starts at 7pm after it gets dark, it should be fine to walk to the studio alone. Bringing friends along or making new friends at class will definitely make the long walk more enjoyable. A map to the studio can be found here. Recently, I’ve gotten lazy and just driven my car there, which takes about 2 minutes. Sometimes, I bring my classmates so we all avoid the walk in the dark.

Wedging and Throwing and Trimming, oh my!
One of the first things I learned about Ceramics is that you can’t just take clay and immediately spin out a pot on the wheel. The first step is to gather supplies, such as a bucket of water, a sponge, and some other tools. I always grab two large blocks of clay from the clay box and chop them both in half, creating four pieces. At that point, the clay tends to be cold and hard. To make it more pliable and easier to work with on the wheel, you have to wedge the clay, which is just a technique for massaging the block into a soft, warm material.
After wedging your clay, you can wet the wheel and then throw your clay onto it – literally throw it. I learned the hard way that if you gently place it and then begin spinning the wheel, the clay will fly everywhere, so don’t try it. Afterwards, you need to begin shaping and centering the pot. I’m not a pottery master, so I still have a lot of issues centering my pots. I don’t have any pictures of my lopsided pots to show but if you don’t center the clay correctly, it begins to wobble dangerously once you start lifting the clay to form the walls of the pot. It’ll take a while for me to be comfortable with this process, but in the meantime, I think the wobble in my pots gives them ✨character✨.
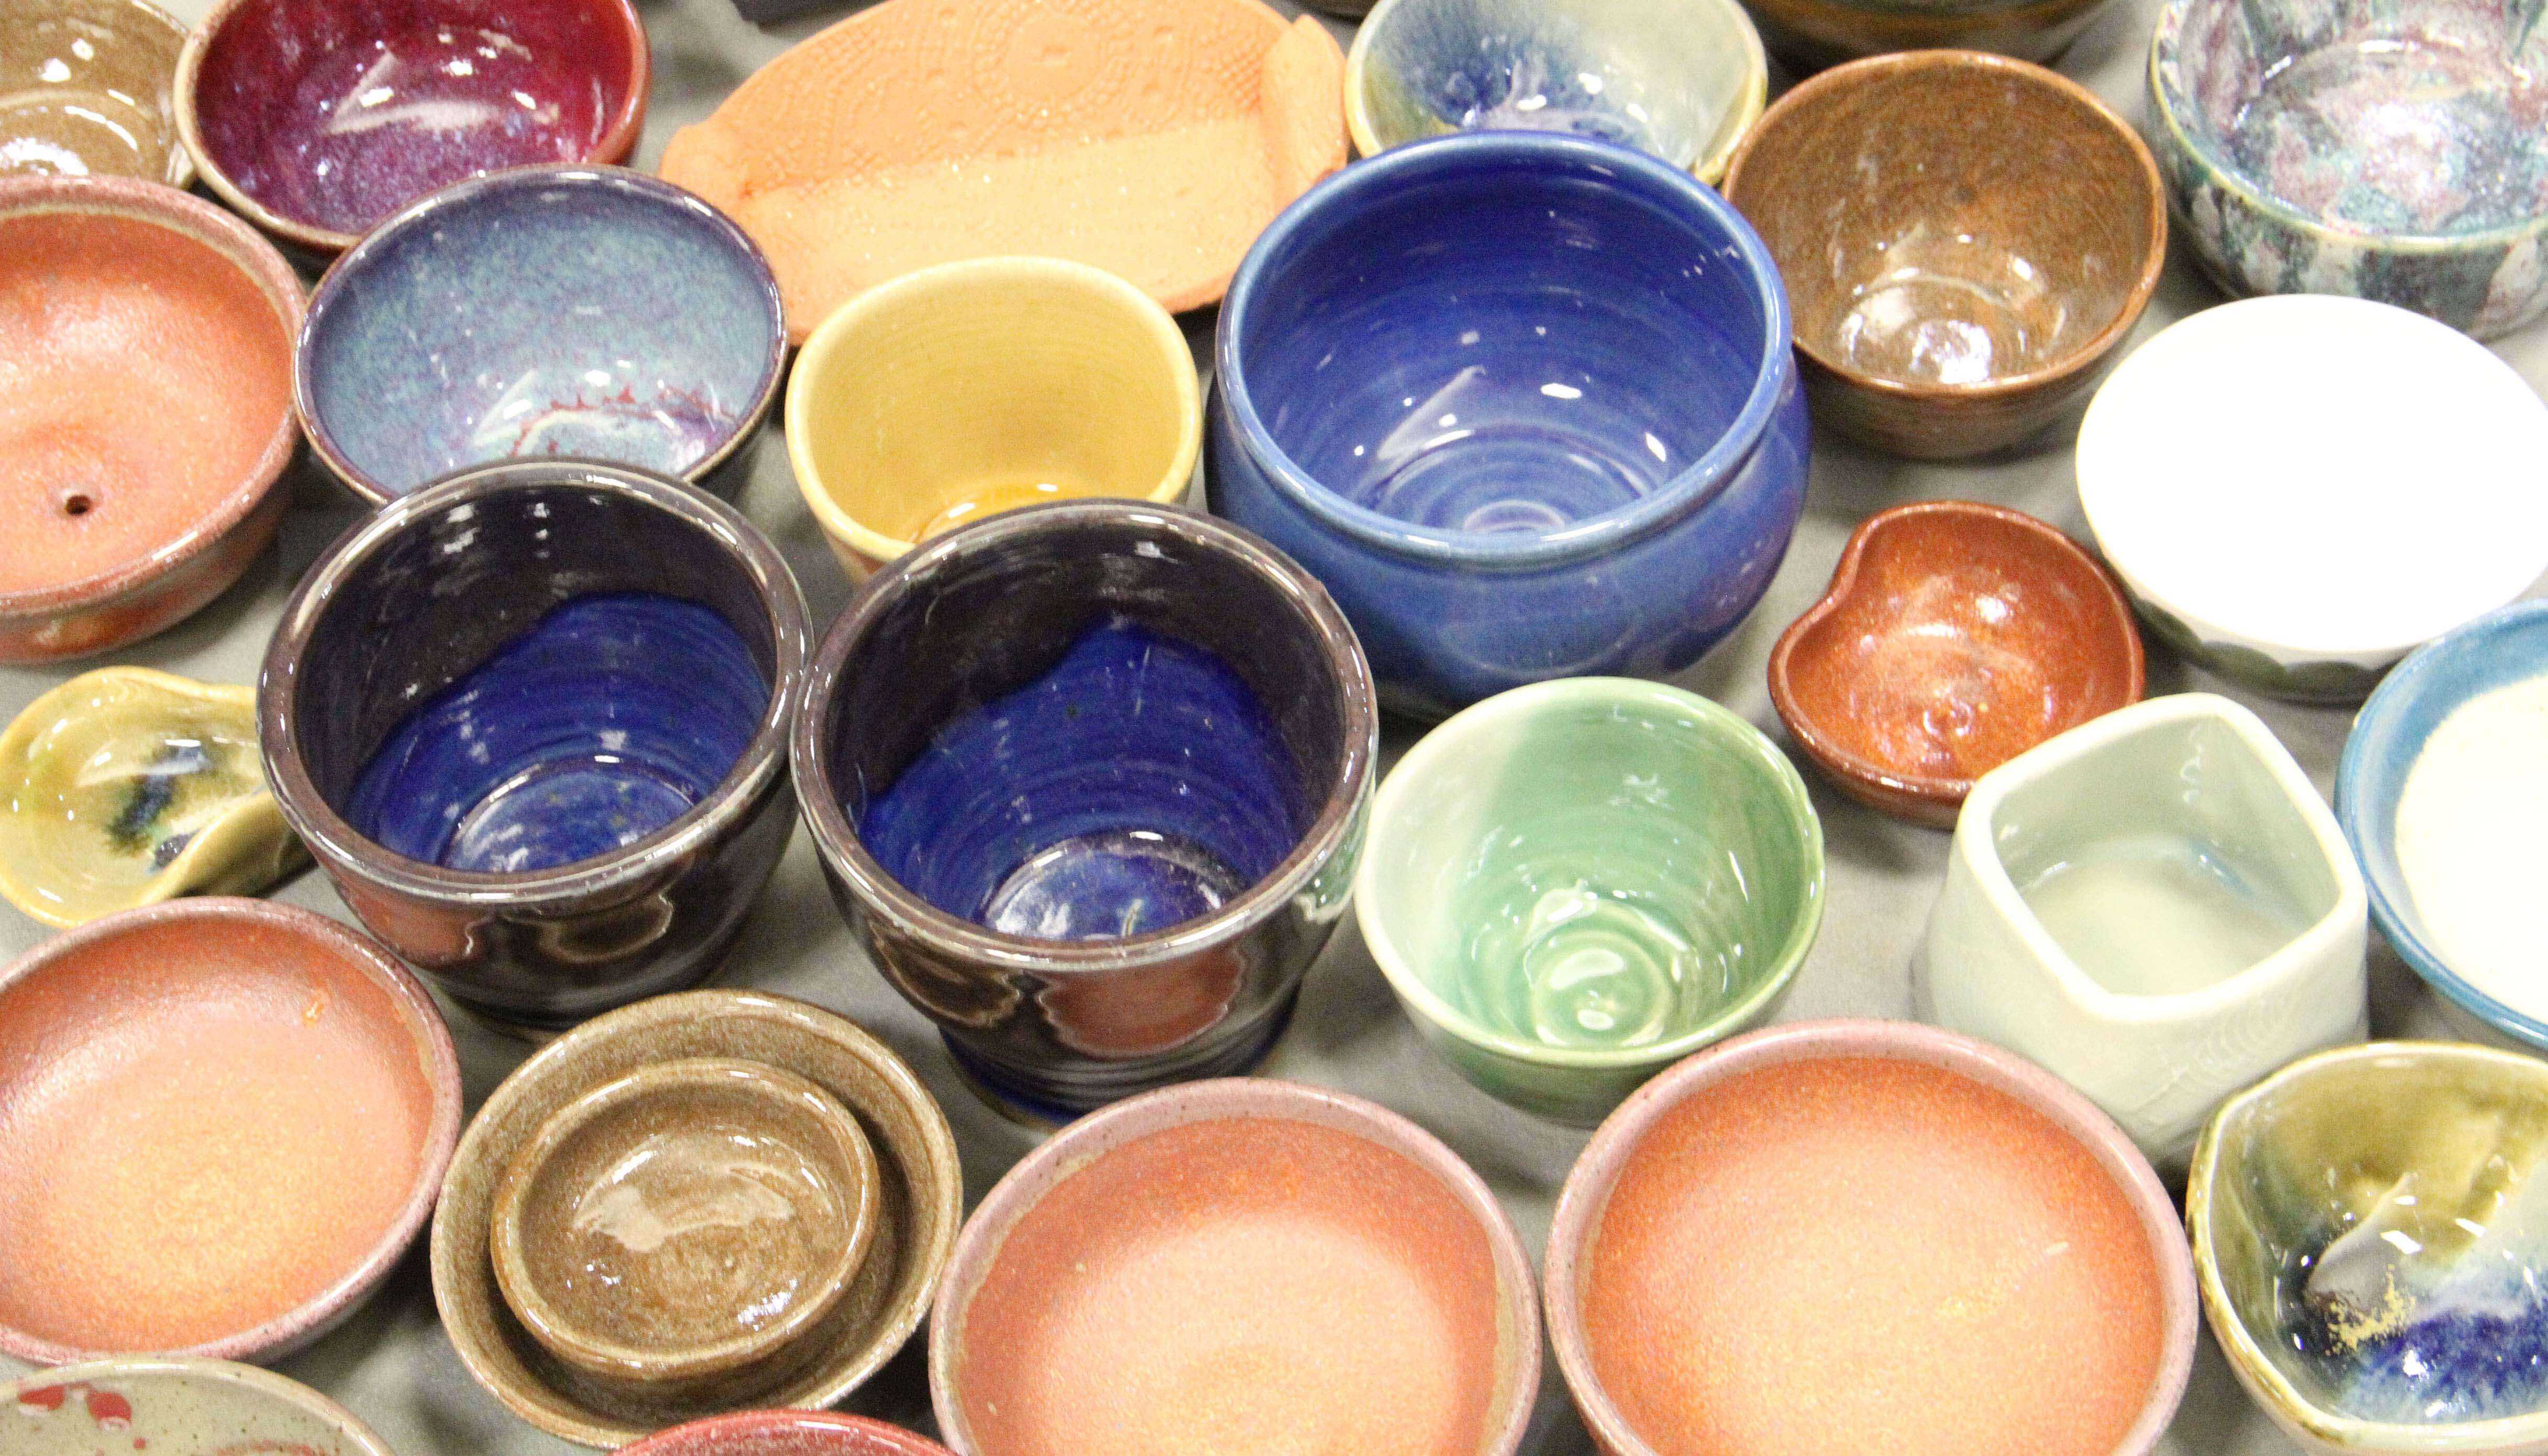
Once you’ve finished your pot, you set it on a block and cover it with some wrap. It sits in a room and dries for a week, after which it should be hard enough to trim. Trimming is just a way of tidying up the pot, by removing excess clay bumps and removing parts of the bottom to form a “foot”. I find this part of the process most relaxing, since it cleans up my creations so that they’re semi-presentable. After this step, the pots normally get fired in the kiln for the first time. That’s as far as I’ve gotten. I’m excited to retrieve my fired pots and glaze them, which is how ceramic pots get their color and shine. They then go back into the kiln for their second firing. If they emerge unscathed, you have yourself a new pot!
You’re not restricted to just making pots either. Last class, I got tired of wrestling with clay on the wheel, so I sculpted a small mouse out of clay. I also learned that I’d need to hollow out the sculpture before firing it, or it would explode in the kiln, so I’ll be doing that the next time I’m in the studio.

Overall, Ceramics has been a great experience. It was harder than I expected, but it’s relaxing to just go in and work with your hands and create something. I often put on a podcast while I’m in the class since the instructor gives you a lot of freedom to do what you want. The process definitely gets messy, so I recommend wearing clothes you don’t care much about (don’t worry, everything washes off even if you don’t do it immediately) and using headphones that aren’t super fancy if you want to listen to music/a podcast or something. Take this class if you have any interest in Ceramics and enjoy creating things with your hands. I hope this was a helpful look at one of the more unique classes Caltech offers!


